
First of all, if you want to skip all the boring photography stuff below and just get to the pictures, click here for my SmugMug site, which has all my Galapagos photos, click here for just my favorites from the trip, or click here which will take you to the table below that links out to the blog entries, one for each day.
After a 15-month delay due to the pandemic, we were finally able to fulfill a lifelong dream of visiting the Galapagos. We used Galapagos Travel, and booked one of the 15-day photo tours with renowned wildlife photographer Tui Del Roy. We ended up with 10 fellow passengers, plus Tui, naturalist and guide extraordinaire Monica Reck, and an amazing crew onboard the Tip Tip IV yacht.

Any time I visit someplace new, particularly if I’m taking my camera, I try and do extensive research on what to expect. For the Galapagos, there was the added dimension that this was explicitly a photography trip, so there were additional factors to figure out beforehand, which I go into below. The one bit of advice that I wish I had started with, but didn’t learn until about halfway in, is that the animals don’t care about you. There is the 6-foot rule, which you should obey so as to not harass the animals and stress them, but otherwise, don’t be timid. Move to where you need to be to get the shot, they’re not going to care. I was far too timid early on, used to animals here in the states, where even the house finches fly away if I so much as open the door.
And with that, here are some (photography) thoughts I came back with, in no particular order.
Equipment
My plan was to use both my trusty Nikon D600, which is a workhorse of a camera, and which I knew inside-and-out, along with my new Christmas present, a Nikon Z6. This poses a bit of a problem in that the lenses are not interchangeable, so I shelled out for the FTZ adapter, which lets me use my F-mount lenses on the Z6. And with that, here is what I originally planned to bring:
- Nikon D600 and Z6 body
- Nikon Z lens 24-200mm f/4-6.3 (versatile)
- Nikon F Lens 16-35mm f/4 (wide field of view, landscapes and close-ups of animals)
- Sigma 150-500mm f/5-6.3 (telephoto)
However, just a few weeks before departure, my Sigma zoom lens stopped working on the Z6. I debated just using the D600, but I started to worry – what if it stopped working altogether? It was already 16 years, and starting to show its age. So I bought myself a Father’s Day present: a Nikon 80-400 f/4.5-5.6. I lost 20% of reach, and there were many times I wish I had that. But it was balanced on the close end, where I was able to back out – and it turns out, this was probably the best choice. This then was my equipment:
- Nikon D600 and Z6 body
- Nikon Z lens 24-200mm f/4-6.3 (versatile)
- Nikon F Lens 16-35mm f/4 (wide field of view, landscapes and close-ups of animals) w/polarizer
- Nikon F lens 80-400mm f4.5-5.6 (telephoto)
- GoPro Hero 9
- 6 EN-EL15 batteries. Bunch of memory cards (3 types! Since the D600, the Z6, and the GoPro all have different formats….)
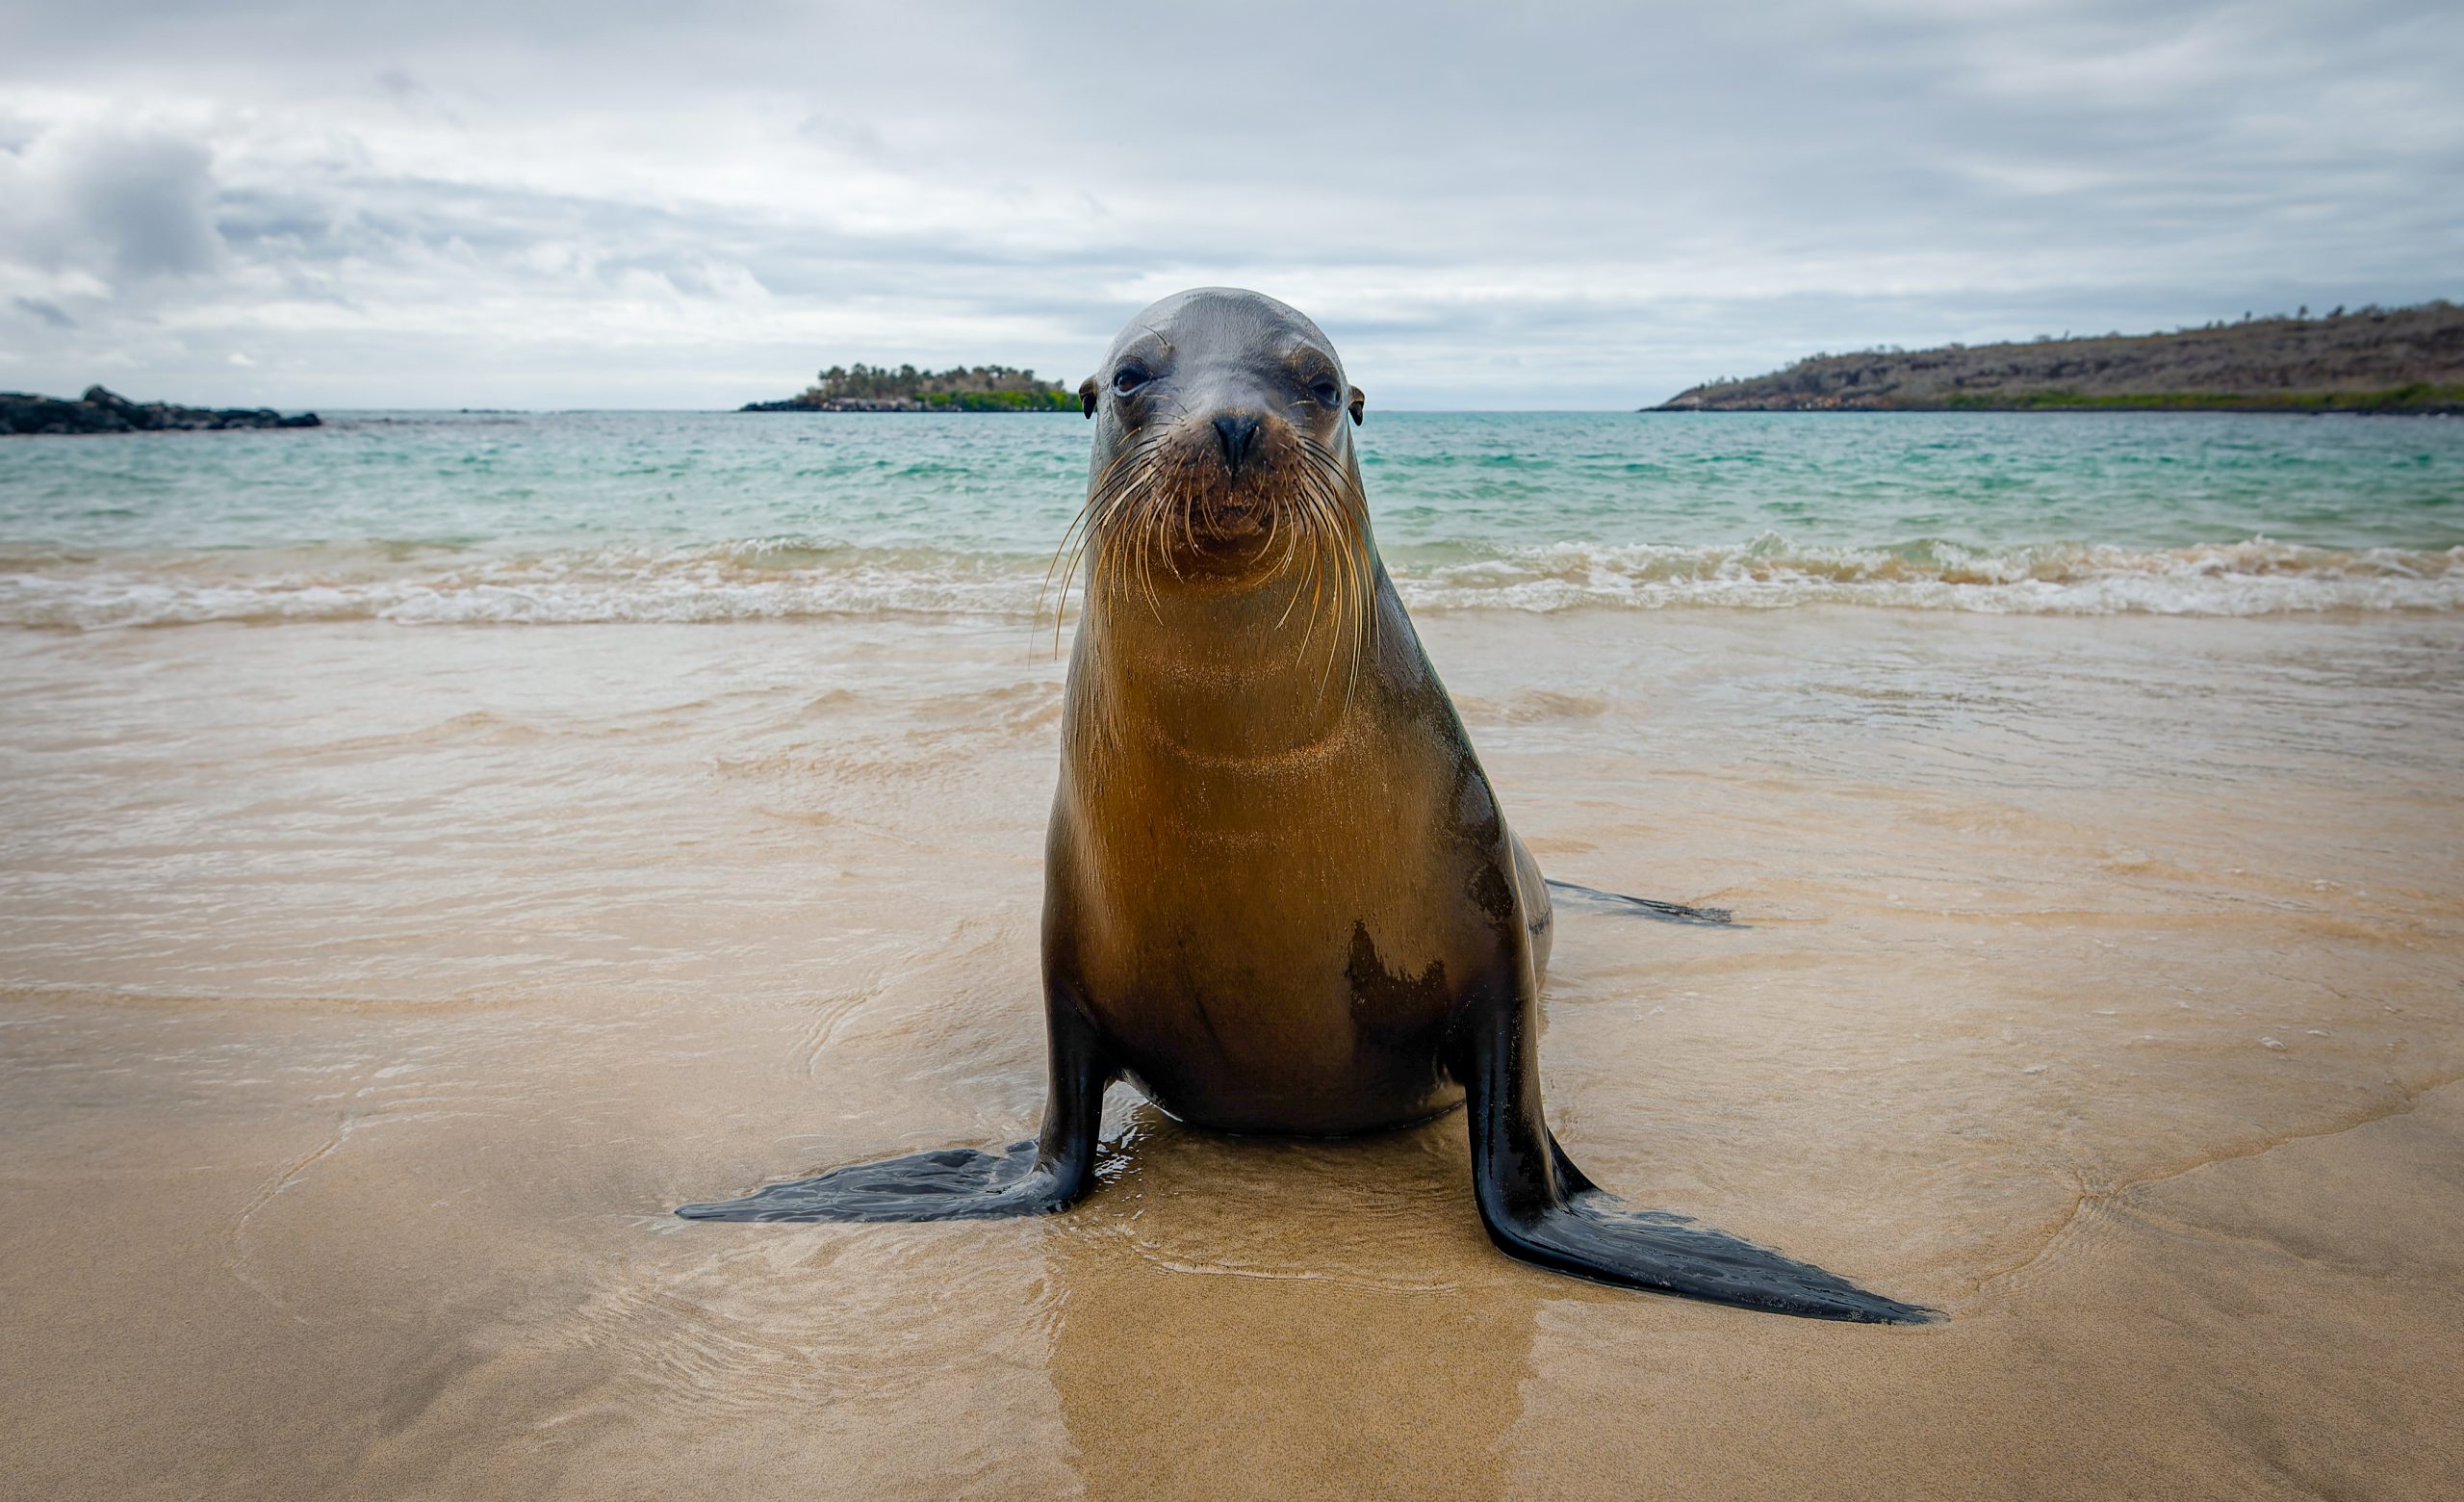
I’m very happy with my lens choice. I used the 80-400 for perhaps 75% of the shots. The 24-200 for another 24%. Then 1% or so with the 16-35. That said, I wouldn’t leave a wide angle at home, if you have one. Every shot I took with it I’m glad I have, including the one of the curious sea lion above.
For snorkeling I used the GoPro every single time. At the start I used a red filter on the front, which helps recover the color once you’re looking down more than a few feet. It worked great. However, there were many times I wanted to quickly point up towards the surface (sea turtles, marine iguanas, blue-footed boobys…) and the white balance would suddenly be very off. I got efficient at swapping the filter on and off in the moment, but I’d recommend just going without the filter, unless you’re diving (then for sure you’d want one).
There is one item I wish I had more of a – a polarizer for all my lenses. Or, at minimum, the 24-200. There were a lot of rides through the mangroves and without a polarizer you won’t see the immense wildlife just below the surface (baby sharks, turtles, rays…). I had a polarizer on just 1 lens – my wide angle. That came in very, very handy when we saw the penguins eating off a bait ball. Without the polarizer, those shots would have looked like crap. So: Make sure you have at least 1 lens with a polarizer.


And I guess this goes without saying, but bring sensor swabs, and be prepared to clean your sensor every night. As I talk about later, my original plan was to keep the telephoto on the Z6 because of its better tracking and quick auto-focus, then use the wide angle on the D600. But I quickly decided the Z6 was so much better that I used all 3 lenses on the Z6, which meant I was opening up the camera constantly. So after every excursion I blew off the sensor, then swabbed as needed. Bring lots of sensor swabs.
Finally, Tui had a top-loading camera bag, which I wish I had. The top loader just hangs off the should, or sits on the ground, and allows you to swap lenses in and out pretty easily. I had a traditional camera backpack, and it was not simply to just swap a lens in and out. So, if you can afford the space, I’d suggest a top-loader.
Camera settings
I did what every photographer will tell you not to do: I went on a major excursion with a new camera that I hadn’t used that much before. It was still a Nikon, which I’m quite familiar with, but I didn’t have the different focus modes engrained in my head, and I hadn’t used it enough to know how to set up the custom buttons.
As I talk about later, I originally swapped between JPG and RAW, purely because I thought I was running out of space. It’s also the case that I don’t need 35 MB RAW photos for a ‘snapshot’, so I’d still occasionally switch to JPG – or just pull out the iPhone. And, although people say ‘memory is cheap’ – for the Z6, which only takes CFExpress, that is not true. Memory was very expensive when I took this trip, so I was pretty careful trying to figure out precisely how many cards I’d need.
Additionally, post-trip, I discovered a fantastic plug-in for lightroom called DxO PureRaw. It’s not a new program, but it had been so long since I had a serious photo excursion I hadn’t used it before. It has totally changed my life. It makes RAW photos look amazing, and I will never shoot in anything but RAW ever again.
OK, so shoot raw – everyone knows that! But seriously, shoot RAW.
This next recommendation is going to be controversial. I shoot auto-ISO. Now, for nature photographers, this is blasphemy. Tui and another photographer on this trip emphasized about shooting with low ISO. “You should always shoot at 100 ISO” they’ll say! But they’re wrong. Sensors today are amazing. My Z6 goes up to ISO 51200! Take advantage of that. Do you want a noise-free, blurry picture because your camera wasn’t fast enough? Or would you rather get the shot, and deal with a tiny bit of noise later? Also, this is where DxO PureRaw comes in handy (and there are many other programs that do the same) – it takes care of RAW noise up to a surprisingly high ISO.
“You should always shoot at 100 ISO” – every wildlife photographer ever. But they’re wrong.
Even with the D600, which honestly isn’t great at high ISO (e.g. 1600), I’ve always shot like this.
So, I put my camera usually in manual mode, with auto-ISO. This allows me to dial in my depth-of-field (f/stop) quickly and/or adapt to the motion of my subject (adjusting shutter speed), without worrying if I’m under- or over-exposed. That freedom is invaluable when shooting wildlife, and I used it constantly.
Regarding focus settings… Pinpoint focus for just about every shot, using the back pad to move the focus point to where I needed it. I don’t think I ever properly figured this out for flying birds. I did okay with subject-tracking using AF-C, but sometimes it had trouble locking in on something and I’d get the dreaded focus out to infinity and back as the camera searched for something to lock onto. Later in the trip I started using subject tracking, which allowed me to place a box over my subject, hit ‘go’, and have it track. That perhaps worked a bit better.
Generic animal tips
Here’s something that might not occur to you – animals blink! Just like humans. It didn’t happen often that I caught an animal blinking, but it was well more than once. So don’t take just 1 shot, even if it’s perfectly lit, still and everything is framed perfectly. Your hawk might blink, spoiling the shot. Below are three consecutive shots in high-speed burst (fraction of a second). Fire off a burst.


Then there is the question of what type of photo to focus on. By that I mean portraits vs. actions vs. moments. It’s incredibly easy to get nice portraits in the Galapagos. The animals sit still, you can get right on the ground and get the animal at eye level with a beautiful background. I managed some nice portraits (and a fellow traveler spent her whole time capturing quite stunning portraits), but they’re not my favorite. I get a little bored with them after a while. Do you enjoy flipping through someone else’s yearbook?
Actions shots are fare more interesting, but they’re also much more difficult because the animals is moving, and you have to capture that motion, or it’s about to move and you have to anticipate it. Or the animals might be interacting with each other in neat ways, and you have to be ready to quickly snap off some pictures. These are my favorite photos, when they work. But you do end up with a lot more throwaways trying to capture action than portraits – you didn’t have the shutter speed fast enough, or the camera focused on something in the background, or didn’t focus lock at all – and it can become a bit frustrating. I tried to balance my action vs. portrait shots.
Finally, there’s the nebulous ‘moments’. These could be moments between animals, like this nice moment early in the trip between a parent blue-footed booby and a fledgling. Or moments of the people interacting with their environment (or the environment interacting with us!). I took a number of ‘moment’ shots of our tour group, and I really enjoy them as they capture a specific moment, with inherent meaning, rather than yet another portrait that could have been taken anywhere, at anytime.


Daily Itinerary
Whew, that was a lot of words! The table below shows our daily itinerary. The links go out to a blog post for each day, describing what we did and saw, and walking through some of my favorite pictures. I also list the number of photos I took on each day (excluding a bunch I deleted while still on the trip), just to highlight that not every island is the same, so don’t freak out (like I did) if you use up 25% of your memory cards on North Seymour on the first day!
| Location and what we saw | # of photos | |
| Day 1 | North Seymour – Frigates on display, blue-footed booby | 1203 |
| Day 2 | Genovesa – Darwin Bay and Prince Phillips Steps – owl! | 1407 |
| Day 3 | Santiago – James Bay and Buccaneer Cove – a few marine iguanas | 756 |
| Day 4 | Isabela and Fernandina – snorkeling with marine iguanas, attack of the cormorant | 465 |
| Day 5 | Isabela – Tagus cove and Elizabeth Bay – penguin bait ball | 689 |
| Day 6 | Isabela – Urbina Bay and Moreno Point – giant tortoises, land iguanas, flamingo | 557 |
| Day 7 | Floreana – Punta Cormorant and Post Office | 93 |
| Day 8 | ||
| Day 9 | Española – albatrosses, blue-footed booby | 920 |
| Day 10 | San Cristobal – mean frigates | 162 |
| Day 11 | Masquera and Santa Cruz – shorebirds and hammerheads | 368 |
| Day 12 | Chinese Hat and Rabida – hawk close ups, flamingos | 838 |
| Day 13 | Bartolome and Sullivan Bay – lava, diving booby, penguins | 134 |
| Day 14 | Santa Fe and Plazas – land iguanas | 820 |
Sorting through the photos…
That’s a lot of photos – 16,711! No one, not even – or maybe especially! – my family wants to sit through 16,711 vacation photos. Plus hours and hours of video.
I take a standard approach, described well by Jimmy Chin in his MasterClass. Go through a 5 step-process (this is using Lightroom). Step 1 is to 1-star anything you might want to keep, and reject anything obviously bad (out-of-focus, wrong exposure, random shot of your feet). You could at this point delete anything that is not 1-star. Then it’s a simple matter of repeating the process. Filter to 1-star, then 2-star anything you want to keep. And so on. When you get to 4 stars, you should have only a handful left, and this is where the Survey View comes in handy since you’re often deciding between 2 or more nearly identical photos.
For Day 1, here’s how the process went
1203 initial -> 215 1-star -> 134 2-star -> 69 3-star -> 29 4-star -> 11 5-star
You have to be brutal.
(side note: I found when writing the blog posts I’d often go back and see photos I liked that I dropped for whatever reason. It’s useful, I think, to go back and redo the selection process a few months after the experience, when you have fresh eyes. The initial sorting can be colored by what you expected the photo to look like when you took it, and you may end up rejecting otherwise quite nice photos. I know I plan to do so with all 16,711 photos.)
Once you have your small set of favorites, then it’s editing, which is very much a personal preference. I tend to be a minimalist in post-processing – auto adjustments, pull up some shadows, maybe a bit of sharpening and clarity. Dehaze also works very well in some of the shots, to help improve contrast.
Snorkeling
We went in July, and the water was cold! I had a 5 mm ‘farmer john’ style wetsuit, with extendible shoulder straps, and a 1.5 mm zip-up top. My wife had a 4/3 mm. By the end of an hour of snorkeling, we’d both be pretty cold – especially the hands and feet. Let me put it this way: we were never too hot.
For masks we each had a full face snorkel mask, which was amazing. I highly recommend it, they’re fairly inexpensive. You have full range of vision, you feel immersed in the water, and you can even talk while wearing it underwater.
The sun can be pretty brutal, so I wore a Nammu cap – which looked ridiculous, but raise your hand if you never got sunburnt! Monica, our guide, had a standard swim cap. Helps keep you warm as well, so I again recommend that small investment.
Conclusions
Well, what can I say? It was a trip of a lifetime! There were times during the 15 days when I thought, “I could have done without this particular excursion”, and an 11-day trip, which is also offered, may have been sufficient. But, you never know what you’re going to find on the islands – or when you’re snorkeling, for that matter. The snorkeling in particular was a total wild card, and even on days when the land excursions were uneventful, I was glad to have snorkeling.
So whatever you decide, decide to go to the Galapagos!